call now for your free estimate
call now for your free estimate


Masterpiece Garage Flooring
Give your garage floor the shine it deserves.

Masterpiece Garage Floor
Give your garage floor the shine it deserves.


Why coat your garage floor with our Liquid Granite garage floor system?
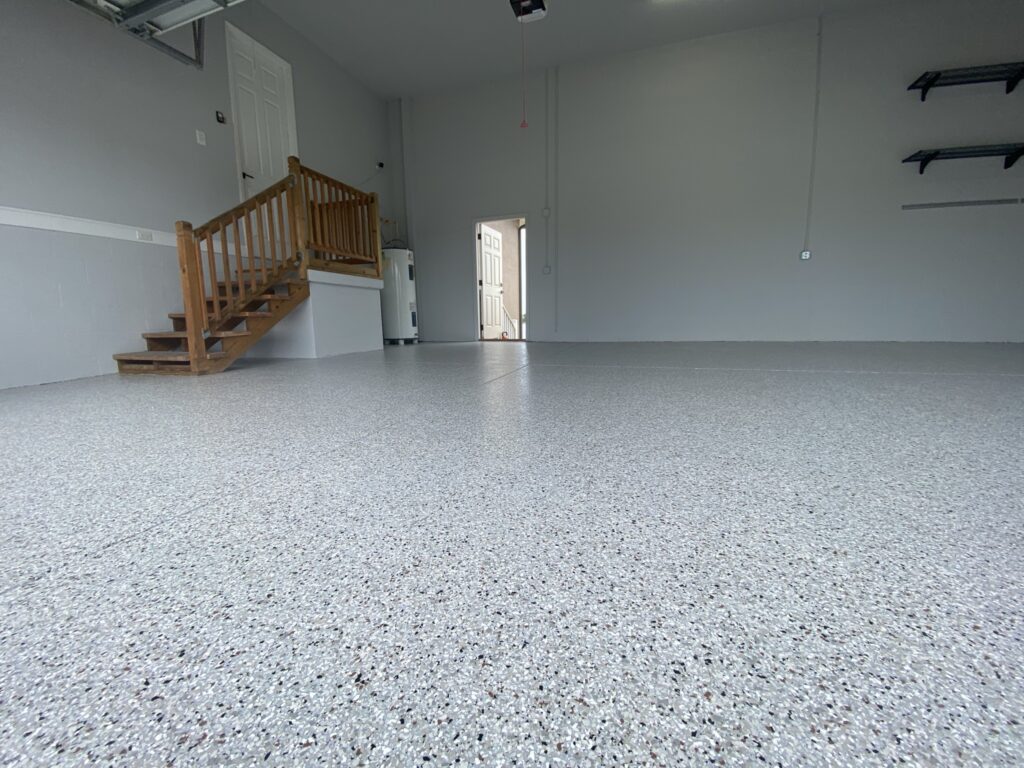
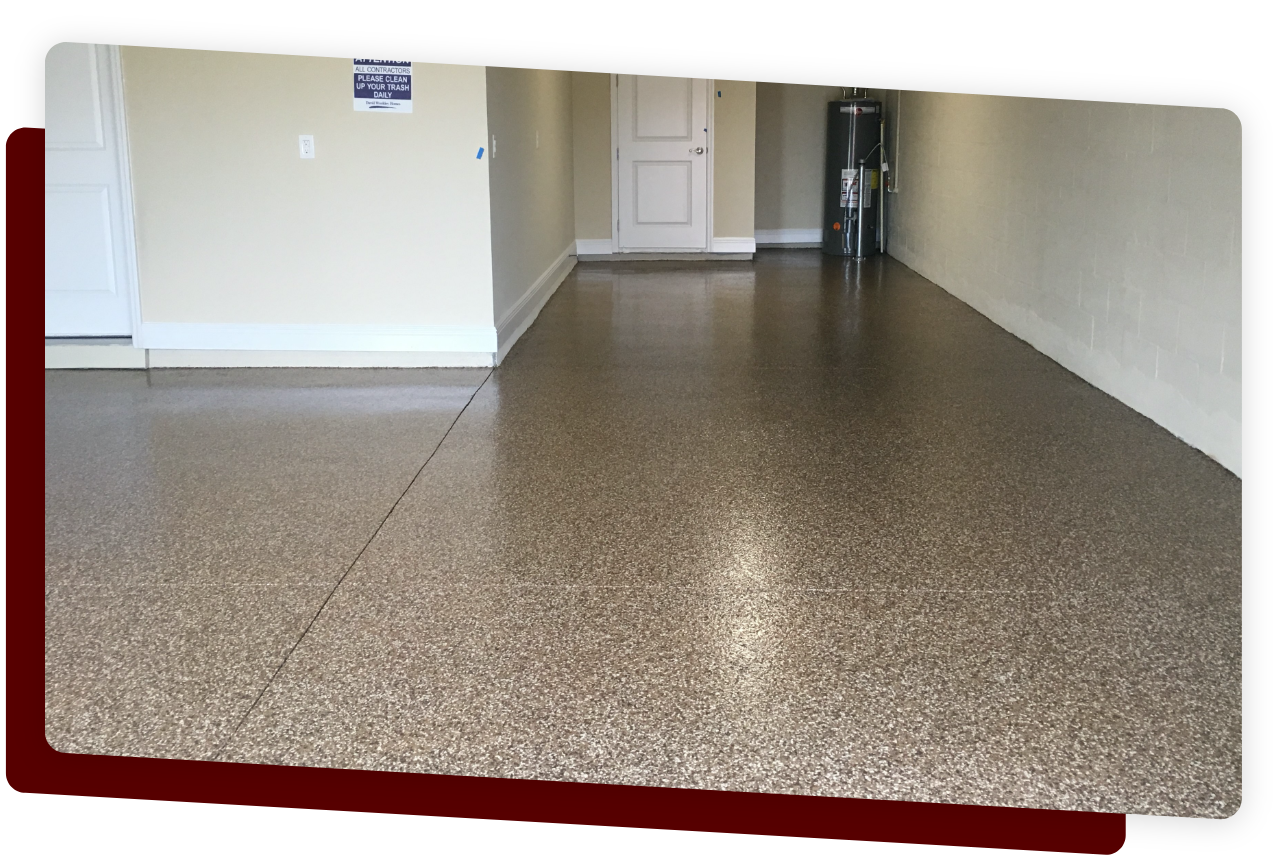
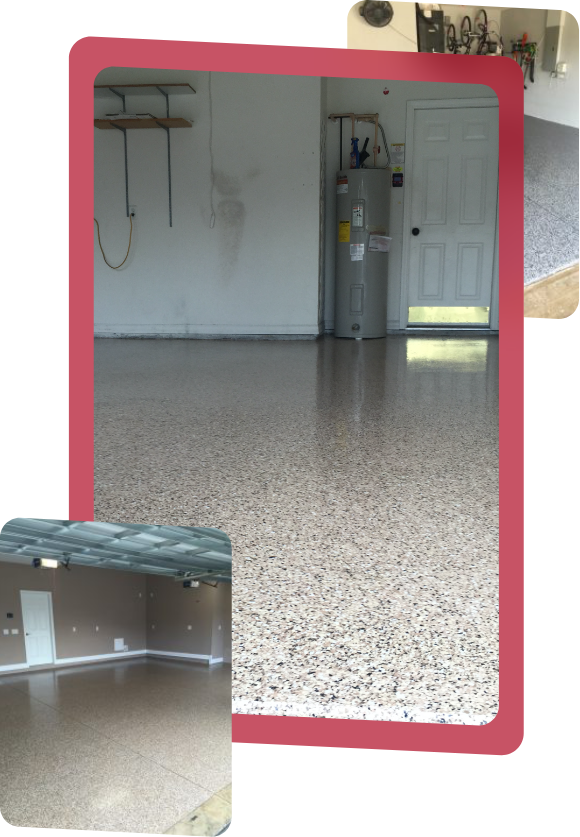
For starters, our finished garage floor coating system look nothing less than Awesome! By sealing the concrete of your garage floor there will be less dust and dirt to make its way into your house as foot traffic goes in and out. Concrete constantly breaks down, coating with an epoxy or polyaspartic sealing system helps to stop this from happening. Our high shine, high gloss polyurea/polyaspartic clear coat makes your garage floor very easy to clean. It is also resistant to most household chemicals, and spills wipe up easy with a damp towel or mop. By grinding the concrete we make sure the coating wicks deep into the concrete, this resists hot tire lift up and moisture failures like most epoxy floor do-it-yourself kits.

What’s the process for refinishing our garage floor?

After selecting on of our many colors offered (or custom designing your own) we will schedule an installation date with you.
First, we grind the floor with a mechanical diamond grinder. This will remove the top surface of the concrete (and any existing coatings or paint) and open up the pores of the concrete so our chemicals will adhere properly.
Next, we repair and surface defects. Settling cracks are “chased” and cleaned with an electric tool then patched. We will also fill in any divots, holes, or other imperfections we may find.
Once the surface is properly prepared and cleaned we apply the first coat. This is a liquid vapor barrier. Not only does the vapor barrier seal the concrete, it also keeps the moisture from seeping up through the floor.
Before the first coat dries we install your chosen blend of decorative paint chips or “flakes”. We do a full broadcast to the point of rejection, meaning your entire garage floor is covered with a layer of flake, not just random areas. This not only makes for a nicer appearance and finish but adds an extra layer of protection to the durability of the garage floor paint.
After the first coat cures, we scrape down the flakes and clean up any excess. Any areas where the chips might not have stuck properly are touched up and now it’s time for the final coat.
Over the years many products have been used for garage floor coating applications. Concrete stains, epoxies, acrylic, and polyurethane can all be applied to a garage floor. We truly believe that the new technology of a polyaspartic top coat is the best way to go. This clear coat is UV stable, so it won’t yellow over the years after being installed. It’s also hot tire resistant, so between it and our industrial grade epoxy vapor barrier you won’t have to worry about the floor peeling up or needing to be recoated in a few years.
Once the clear-coat is applied it should cure and be walkable in 3 to 4 hours. We do recommend waiting until the next morning to move your larger items back into the garage though. Now it’s time to enjoy and show off your beautiful new garage floor.

After selecting on of our many colors offered (or custom designing your own) we will schedule an installation date with you.
First, we grind the floor with a mechanical diamond grinder. This will remove the top surface of the concrete (and any existing coatings or paint) and open up the pores of the concrete so our chemicals will adhere properly.

Next, we repair and surface defects. Settling cracks are “chased” and cleaned with an electric tool then patched. We will also fill in any divots, holes, or other imperfections we may find.
Once the surface is properly prepared and cleaned we apply the first coat. This is a liquid vapor barrier. Not only does the vapor barrier seal the concrete, it also keeps the moisture from seeping up through the floor.
Before the first coat dries we install your chosen blend of decorative paint chips or “flakes”. We do a full broadcast to the point of rejection, meaning your entire garage floor is covered with a layer of flake, not just random areas. This not only makes for a nicer appearance and finish but adds an extra layer of protection to the durability of the garage floor paint.

After the first coat cures, we scrape down the flakes and clean up any excess. Any areas where the chips might not have stuck properly are touched up and now it’s time for the final coat.
Over the years many products have been used for garage floor coating applications. Concrete stains, epoxies, acrylic, and polyurethane can all be applied to a garage floor. We truly believe that the new technology of a poly-aspartic top coat is the best way to go. This clear coat is UV stable, so it won’t yellow over the years after being installed. It’s also hot tire resistant, so between it and our industrial grade epoxy vapor barrier you won’t have to worry about the floor peeling up or needing to be recoated in a few years.

Once the clear-coat is applied it should cure and be walkable in 3 to 4 hours. We do recommend waiting until the next morning to move your larger items back into the garage though. Now it’s time to enjoy and show off your beautiful new garage floor.
What’s the process for refinishing our garage floor?

After selecting on of our many colors offered (or custom designing your own) we will schedule an installation date with you.
First, we grind the floor with a mechanical diamond grinder. This will remove the top surface of the concrete (and any existing coatings or paint) and open up the pores of the concrete so our chemicals will adhere properly.
Next, we repair and surface defects. Settling cracks are “chased” and cleaned with an electric tool then patched. We will also fill in any divots, holes, or other imperfections we may find.
Once the surface is properly prepared and cleaned we apply the first coat. This is a liquid vapor barrier. Not only does the vapor barrier seal the concrete, it also keeps the moisture from seeping up through the floor.
Before the first coat dries we install your chosen blend of decorative paint chips or “flakes”. We do a full broadcast to the point of rejection, meaning your entire garage floor is covered with a layer of flake, not just random areas. This not only makes for a nicer appearance and finish but adds an extra layer of protection to the durability of the garage floor paint.
After the first coat cures, we scrape down the flakes and clean up any excess. Any areas where the chips might not have stuck properly are touched up and now it’s time for the final coat.
Over the years many products have been used for garage floor coating applications. Concrete stains, epoxies, acrylic, and polyurethane can all be applied to a garage floor. We truly believe that the new technology of a poly-aspartic top coat is the best way to go. This clear coat is UV stable, so it won’t yellow over the years after being installed. It’s also hot tire resistant, so between it and our industrial grade epoxy vapor barrier you won’t have to worry about the floor peeling up or needing to be recoated in a few years.
Once the clear-coat is applied it should cure and be walkable in 3 to 4 hours. We do recommend waiting until the next morning to move your larger items back into the garage though. Now it’s time to enjoy and show off your beautiful new garage floor.
What are some of the differences between our garage floor paint systems and other companies?
In house installers
The owner is involved in all phases of installation. From the initial quote to the final day of install, no subcontractors are involved, we do it right the first time.
Speed
Typically our floors can be properly installed in just one to two days. Not 5 to 7 like others.
Floor Preparation
We diamond grind every floor, new or old. Never allow someone to “acid etch” and pressure wash as the preparation method. This will NOT prepare the floor for proper long term adhesion and may actually negatively affect the concrete long term.
Adhesion
We use an industrial grade high solids epoxy as a vapor barrier for our adhesion coat. Some companies will claim you shouldn’t use an epoxy at all. Installed properly, our product will resist twice the amount of MVE (moisture vapor emissions) than any other base coat used. The only reason not to do this is for speed. We’re not trying to be the fastest installers in town, we just want the best and longest lasting garage floor finish possible.
Full broadcast
decorative chips
We will completely cover your floor with our decorative chips for a complete “granite” finish. Some floor companies just randomly sprinkle on a few flakes. This makes the floor look uneven and unfinished.
Topcoat
We truly feel our garage floors are the best. By utilizing the high quality of polyaspartic instead of less expensive chemicals, our floor will have a beautiful high gloss finish that not only looks great, but is easy to clean and maintain. With proper care it should last you a lifetime.
What are some of the differences between our garage floor paint systems and other companies?
In house installers
The owner is involved in all phases of installation. From the initial quote to the final day of install, no subcontractors are involved, we do it right the first time.
Speed
Typically our floors can be properly installed in just one to two days. Not 5 to 7 like others.
Floor Preparation
We diamond grind every floor, new or old. Never allow someone to “acid etch” and pressure wash as the preparation method. This will NOT prepare the floor for proper long term adhesion and may actually negatively affect the concrete long term.
Topcoat
We truly feel our garage floors are the best. By utilizing the high quality of polyaspartic instead of less expensive chemicals, our floor will have a beautiful high gloss finish that not only looks great, but is easy to clean and maintain. With proper care it should last you a lifetime.
Adhesion
We use an industrial grade high solids epoxy as a vapor barrier for our adhesion coat. Some companies will claim you shouldn’t use an epoxy at all. Installed properly, our product will resist twice the amount of MVE (moisture vapor emissions) than any other base coat used. The only reason not to do this is for speed. We’re not trying to be the fastest installers in town, we just want the best and longest lasting garage floor finish possible.
Full broadcast
decorative chips
We will completely cover your floor with our decorative chips for a complete “granite” finish. Some floor companies just randomly sprinkle on a few flakes. This makes the floor look uneven and unfinished.
What Our Customers are Saying
What Our Customers are Saying
What Our Customers are Saying
#2
I was looking to do something with my unsightly garage to convert into a mini gym with a boxing heavy bag. Jerrett showed up thoroughly explained the process and what to expect showed me samples and guided me through the process. ... It’s not often that I am so overwhelmingly happy for a job that I have hired a company to do. Great Job Jerrett and MASTERPIECE GARAGE.
Let’s Create Your Dream Garage
Your garage doesn't have to be the worst room in house and neglected. Make it stand out.
Let’s Create Your Dream Garage
Your garage doesn't have to be the worst room in house and neglected. Make it stand out.
Let’s Create Your Dream Garage
Your garage doesn't have to be the worst room in house and neglected. Make it stand out.
